Learn Live: Warping Clips
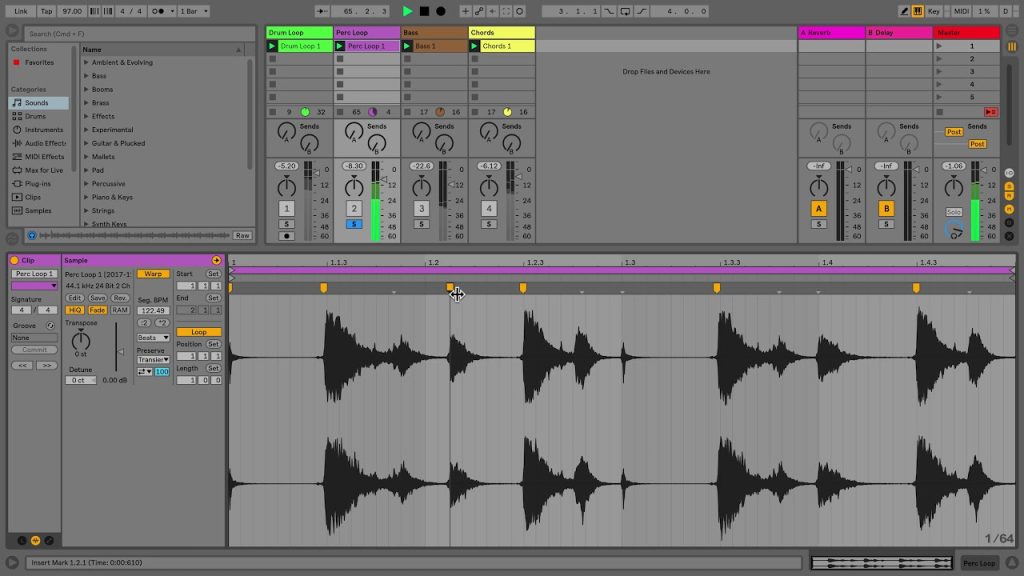
Warping is one of Ableton Live's superpowers, and this official Ableton tutorial explains it clearly in just over five minutes. Warping lets you stretch and squeeze audio to fit your project's tempo, so breaks, vocals, samples and whole tracks lock to the grid without changing pitch. You will learn how warp markers work, how Live analyses audio and how to fix a clip that drifts out of time. Why it is a fresh way to get producing: once you can warp confidently, any piece of audio becomes raw material. Grab an old break, a field recording or a vocal and make it fit a 140 BPM techno groove or a 174 BPM jungle roller. Push the warp modes to extremes and you get glitchy, stretched textures that are a staple of experimental and underground electronic music. It is also essential for DJs and live performers who use Live, so it pays off well beyond the studio.
Video: “Learn Live: Warping clips” by Ableton on YouTube (5:21). All credit to the creator; please like and subscribe to support them.
Get the plugin: Ableton Live
Gear we’d use for this
- Novation Launchkey Mini 25 MK4 – tight Ableton/FL integration, 16 pads, scale and chord modes.
- Focusrite Scarlett Solo (4th Gen) – a simple, clean USB-C interface for monitors, headphones and one mic or guitar. Works with iPad too.
- Audio-Technica ATH-M50x – closed-back studio headphones with punchy, accurate bass for checking kicks and subs.
As an Amazon Associate we earn from qualifying purchases.